
Expert Car Wrapping Tips and Insights
Phoebe STARC
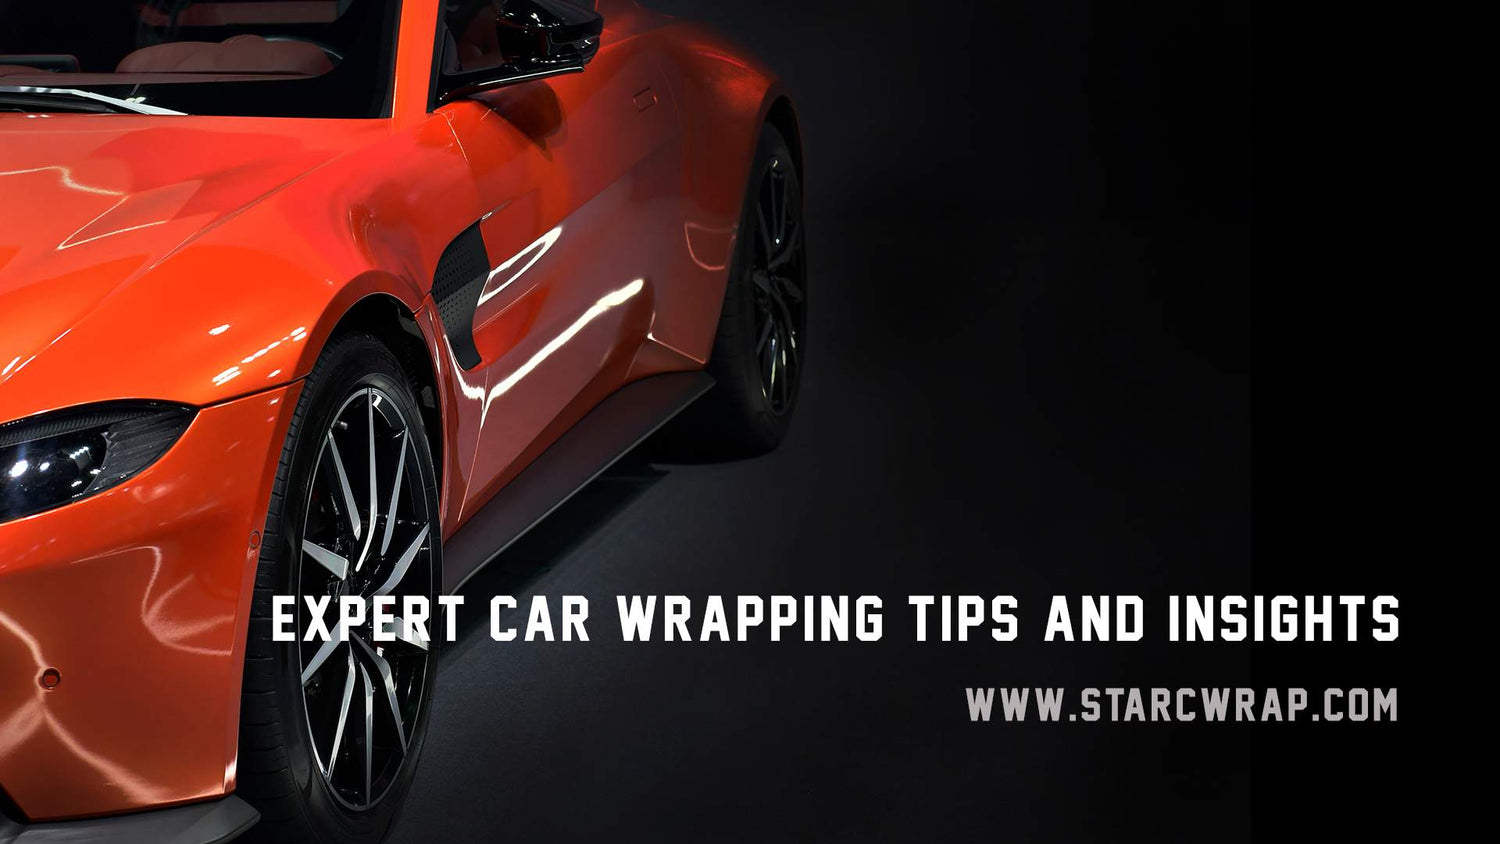
Car wrapping has become an increasingly popular way to give your vehicle a fresh, customized look without the permanence of a paint job. Whether you want a sleek matte finish, a bold color change, or even a full custom design, a high-quality wrap can transform your car’s appearance while also protecting its original paint.

If you're considering a car wrap or simply want to learn more about the process, this guide provides expert tips and insights to help you make informed decisions.
Why Choose a Car Wrap?
Before diving into the details, let’s explore why car wrapping is a great option:
- Cost-Effective – Wrapping is significantly cheaper than a full repaint, especially for premium finishes like matte or metallic.
- Protection – A high-quality vinyl wrap shields your car’s original paint from scratches, UV rays, and minor abrasions.
- Customization – With endless color and finish options, you can achieve a unique look that stands out.
- Reversible – Unlike paint, wraps can be removed without damaging the original finish.
Expert Car Wrapping Tips
1. Choose the Right Vinyl Material
Not all vinyl wraps are created equal. The two most common types are:
- Cast Vinyl – More durable, flexible, and better for long-term use. Ideal for curved surfaces.
- Calendered Vinyl – Less expensive but thicker and less stretchable. Best for short-term wraps or flat surfaces.
2. Prepare the Surface Properly
A flawless wrap starts with a perfectly prepped surface:
- Wash and decontaminate the car thoroughly (clay bar treatment helps remove embedded contaminants).
- Remove any dirt, wax, or grease to ensure strong adhesive bonding.
- Repair dents or deep scratches before wrapping, as vinyl will highlight imperfections.
3. Work in a Clean, Controlled Environment
Dust, wind, and humidity can ruin a wrap job. Professional installers work in climate-controlled spaces to prevent debris from sticking to the vinyl and ensure smooth application. If you’re DIY-ing, choose a clean garage with minimal airflow.
4. Use Proper Tools & Techniques
- A heat gun is essential for stretching and molding vinyl around curves.
- Squeegees and felt-edged tools help smooth out bubbles and wrinkles.
- Knifeless tape allows for precise cuts without risking paint damage.
5. Take Your Time with Complex Areas
Bumpers, mirrors, and door handles are tricky. Pros often remove trim pieces for seamless wrapping. If you're a beginner, consider practicing on smaller panels first.
6. Maintain Your Wrap for Longevity
- Wash your wrapped car regularly with mild, non-abrasive soap (avoid harsh chemicals).
- Hand washing is best; automatic car washes with brushes can damage the vinyl.
- Apply vinyl protectant to guard against UV fading.
Common Car Wrapping Mistakes to Avoid
- Rushing the installation – Patience is key for a bubble-free finish.
- Skipping surface prep – Any dirt or residue will show under the vinyl.
- Using low-quality materials – Cheap vinyl may fade, crack, or peel prematurely.
- Overstretching the vinyl – This can lead to premature failure and adhesive issues.
Should You DIY or Hire a Professional?
While DIY wrapping can save money, it requires skill and patience. For complex wraps or high-end finishes, professional installation is worth the investment. However, if you're wrapping small sections (like a roof or hood), DIY can be a fun project.
Final Thoughts
Car wrapping is an excellent way to personalize and protect your vehicle. By choosing the right materials, prepping properly, and following expert techniques, you can achieve a stunning, long-lasting result.
Whether you're going for a sleek matte black, a vibrant color shift, or a full custom design, these tips will help you get the best outcome.