
Vinyl Wrap Tips & Insights: A Complete Guide for Beginners and Pros
Phoebe STARC
Vinyl wrapping has become an increasingly popular way to customize vehicles, furniture, and even electronics. Whether you're looking to refresh your car's appearance, protect its original paint, or experiment with unique designs, vinyl wraps offer a versatile and cost-effective solution.

In this guide, we’ll share essential vinyl wrap tips and insights to help you achieve a professional-looking finish—whether you're a DIY enthusiast or a seasoned installer.
1. Choosing the Right Vinyl Wrap
Not all vinyl wraps are created equal. Here’s what to consider when selecting one:
- Quality: Opt for reputable brands for durability and ease of installation.
- Type: Gloss/Matte/Satin/Metallic– Different finishes for different aesthetics.
2. Surface Preparation is Key
A flawless wrap starts with a perfectly prepped surface:
- Clean Thoroughly: Use isopropyl alcohol or a dedicated adhesive remover to eliminate dirt, wax, and grease.
- Remove Trim & Handles: If possible, take off emblems, door handles, and trim for a seamless wrap.
- Clay Bar Treatment: Helps remove embedded contaminants for a smoother application.
3. Essential Tools for Vinyl Wrapping
Having the right tools makes the job much easier:
- Squeegee & Felt Edge – For smoothing out air bubbles without scratching.
- Heat Gun or Blow Dryer – Helps stretch and conform vinyl around curves.
- Knife-less Tape – Allows for precise cuts without damaging the surface.
- Microfiber Cloths – For cleaning and wiping excess adhesive.
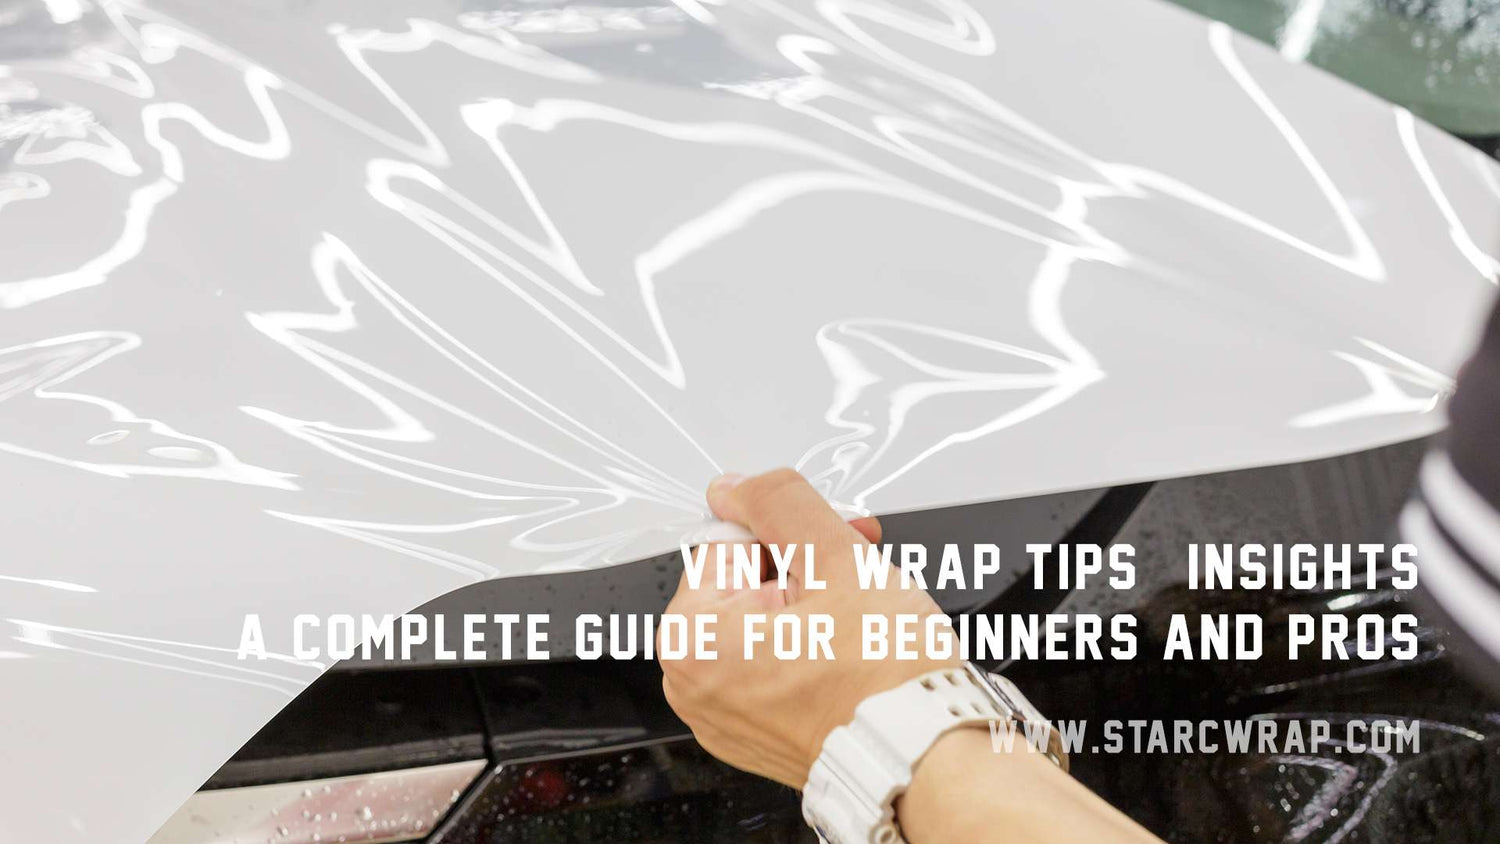
4. Vinyl Wrap Installation Tips
A. Work in a Controlled Environment
Avoid direct sunlight (vinyl becomes too stretchy) or cold temperatures (adhesive won’t bond well).
A dust-free area prevents debris from getting trapped under the wrap.
B. Apply with the "Hinge Method"
Peel back a portion of the vinyl liner.
Align and stick the exposed section to the surface.
Gradually remove the backing while smoothing the vinyl down.
C. Use Heat Strategically
Warm up the vinyl before stretching over complex curves.
Avoid overheating, as it can weaken the adhesive.
D. Post-Installation Care
Let the wrap cure for 24-48 hours before washing.
Hand wash with mild soap; avoid high-pressure washers near edges.
Use a vinyl protectant spray to maintain shine and prevent fading.
5. Common Vinyl Wrap Mistakes to Avoid
❌ Rushing the Prep – Skipping cleaning leads to poor adhesion.
❌ Overstretching the Vinyl – Causes premature cracking or lifting.
❌ Cutting Too Deep – Can scratch the original paint.
❌ Ignoring Seams & Overlaps – Improper alignment creates visible lines.
6. How Long Does a Vinyl Wrap Last?
With proper care:
High-Quality Wraps: 5-7 years (or longer if garage-kept).
Budget Wraps: 1-3 years, depending on exposure to UV and weather.
Final Thoughts
Vinyl wrapping is an excellent way to transform the look of your car or other surfaces without a permanent commitment. By following these vinyl wrap tips and insights, you can achieve a professional-grade finish and extend the life of your wrap.